Events
In eComtics terminology, an event represents an action on the web app along with some of the properties relevant to the work, which the administrator has chosen to monitor. One of the example events is “AddToCart”, which is the combination of the user click action on “add to cart” button and the properties related to it like the product name, product id, product price & product quantity.
Many times the same event may occur because of user actions on different web pages. When accommodating this, the same event can have multiple configurations. Each configuration for an event must be identified with a label. A good example of this scenario is the “AddToCart” event that can be triggered by clicking on the “add to cart” button in Product View or by clicking on the “add to cart” button in Search View page. The labels for the two different configurations must be unique and say “from_product_view” & “from_search_view” respectively, where as the event name remains same as “AddToCart”.
Events are classified into two types as mentioned below, which are explained in detail in the next sections.
Types of Events
Standard Events
eComtics has few predefined event names that are the most frequent events in an eCommerce Web app. The following are the predefined standard events.
- Add To Cart
- Add To Wishlist
- Checkout
- Product View
- Ratings And Reviews
- Search View
- Transaction
- View Cart
- Log In
- Sign up
Custom Events
While creating a custom event, please make sure not to use any of the predefined standard event names for the custom event name.
Anatomy of an Event
This section describes various fields required to be filled by the user for defining an event.
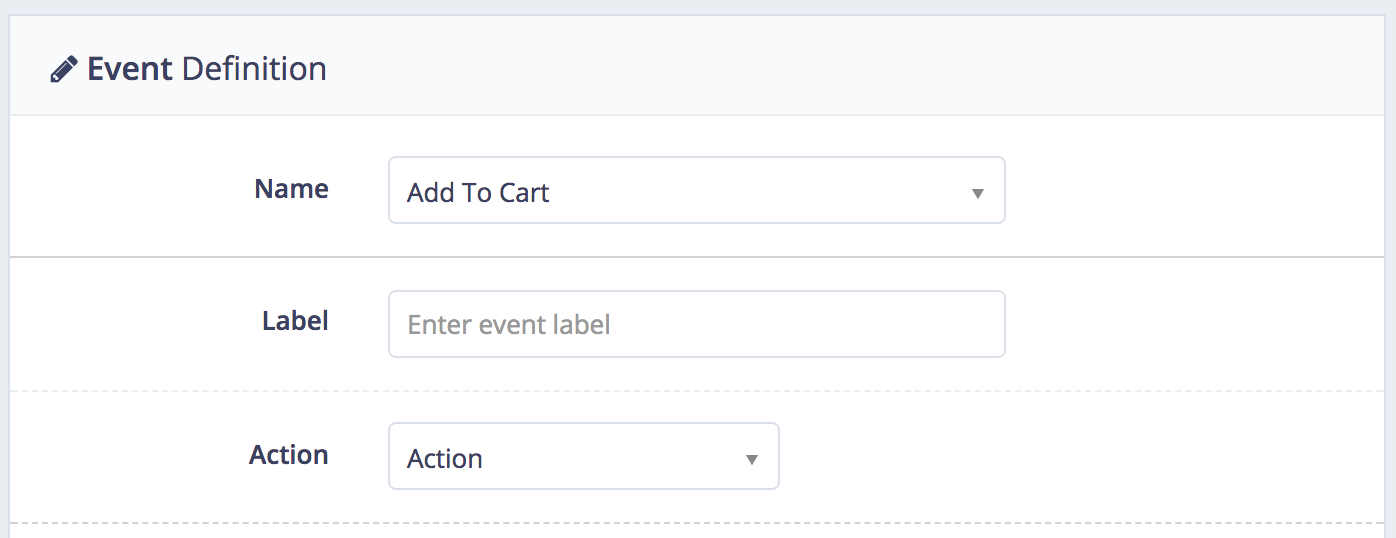
Event Name
This field allows the user to provide a name to the event. Name primarily represents the type of event.
Event Label
In some cases, the same kind of event might be possible to be performed from different web pages or different actions on the same web page. Example, the user, can do an “Add To Cart” operation either from product view or search view. Means there are two ways of initiating the same event type “Add To Cart”. So we may need multiple event definitions to capture the same event type.
To distinguish such multiple event definitions with the same name (event type) event label is used. In the case as mentioned above we will have two events defined with the same name “Add To Cart”, but with different names like “from_product_view” , “from_search_view” etc… Name & Label combination needs to be unique.
Event Action
This field is used to specify the action, which triggers the event to be captured. There are three kinds of actions supported currently. Load, Click & Change. You have to select the appropriate option from drop-down menu.
- Load: Currently this option is supported only for page load event and is not compatible for any other HTML element load event.
- Click: This option can be chosen for identifying the user click on any of the HTML elements on the web page.
- Change: This action is meant for input, textarea and select tag
Event Filters
Our next objective would be to link filters to the work as mentioned above (click/load/change) for accurate identification of the event occurrence. We have four different type of filters to choose from.
CSS Selector
CSS selector in event definition is used by web pages to help keep information in the proper display format. It can contribute to defining font, size, color, spacing, border, and location of HTML information on a web page, and can also be used to create a continuous look throughout multiple pages of a website CSS selector is chosen in the format as given below
tagName#element Id.class Name1.class Name2{{attribute=value}}
Inner HTML
InnerHTML is between the opening and the closing html tags. For example,
<div class=”className1 className2”>
    <button class=”addtocart”>Add-to-Cart</button>
</div>
Here the innerHTML for div element will be – Add-to-Cart text Under Div. InnerHTML for button element will be – Add-to-Cart (which can be put as an innerHTML in event Definition in AddtoCart.)
Page URL
It’s the URL of the website which identifies the defined event. This would match any URL of the site that has given URL as the prefix.
Specific Info
Specific Info differentiates the page from other pages in the website:
<meta property=”og:pro” content=”og:property”/>
page may sometime contain some specific CSS like:
<div id=”elementId” class=”className1 className2” attribute=value></div>
under such circumstances specific Info is:
tagName#elmentId.className1.className2{{attribute=value}}
Note
Tag name is mandatoy
Event Properties
Event Properties are the details to be captured related to the event (Ex: For ProductView event particulars of the product viewed like product title, product price are termed properties of the ProductView event). While configuring the event details required to identify the values for these properties. For each event property to be captured, we need to provide the details needed to identify the HTML element (like CSS Selector, etc…), which contains the property value.There are three fields (Name, Type & CSS Selector) to be filled for each property to be captured. The name is the given name for the property to be obtained & the other two parameters Type & CSS Selector are used to identify the elements from which the property values are to be captured.
Property Name
Property name for a particular event must be unique, enter the name of the property you are going to capture, you can call it as you wish the name to be
Property Type
As explained before Type is used along with CSS Selector to identify the HTML element containing the property values to be captured. Properties are classified into three categories based on the way the CSS Selector provided can be used to identify the HTML elements.
Unique
If the CSS Selector provided for the property can identify the element in the webpage uniquely then the property type to be chosen is “Unique”.
Selected
If the CSS Selector provided can be used to identify the element in the selected (either by click on an element/change in an element value within the) HTML DIV/Container then the property type to be chosen is “Selected”.
Repeated
If the CSS Selector provided for the property can identify multiple elements in the web page within an HTML DIV/Container, and we also would like to capture all the element values making the property value to be an array of values then the property type to be chosen “Repeated”. (Incase of ViewCart event there will be multiple product names to be captured, all the names of the products can be obtained as an array of names within a single property say product_names_in_cart).
Creating an Event
This section describes on how to create a standard event by taking the example of creating an “Add To Cart” event. Similarly, you can create custom events of your choice as well.
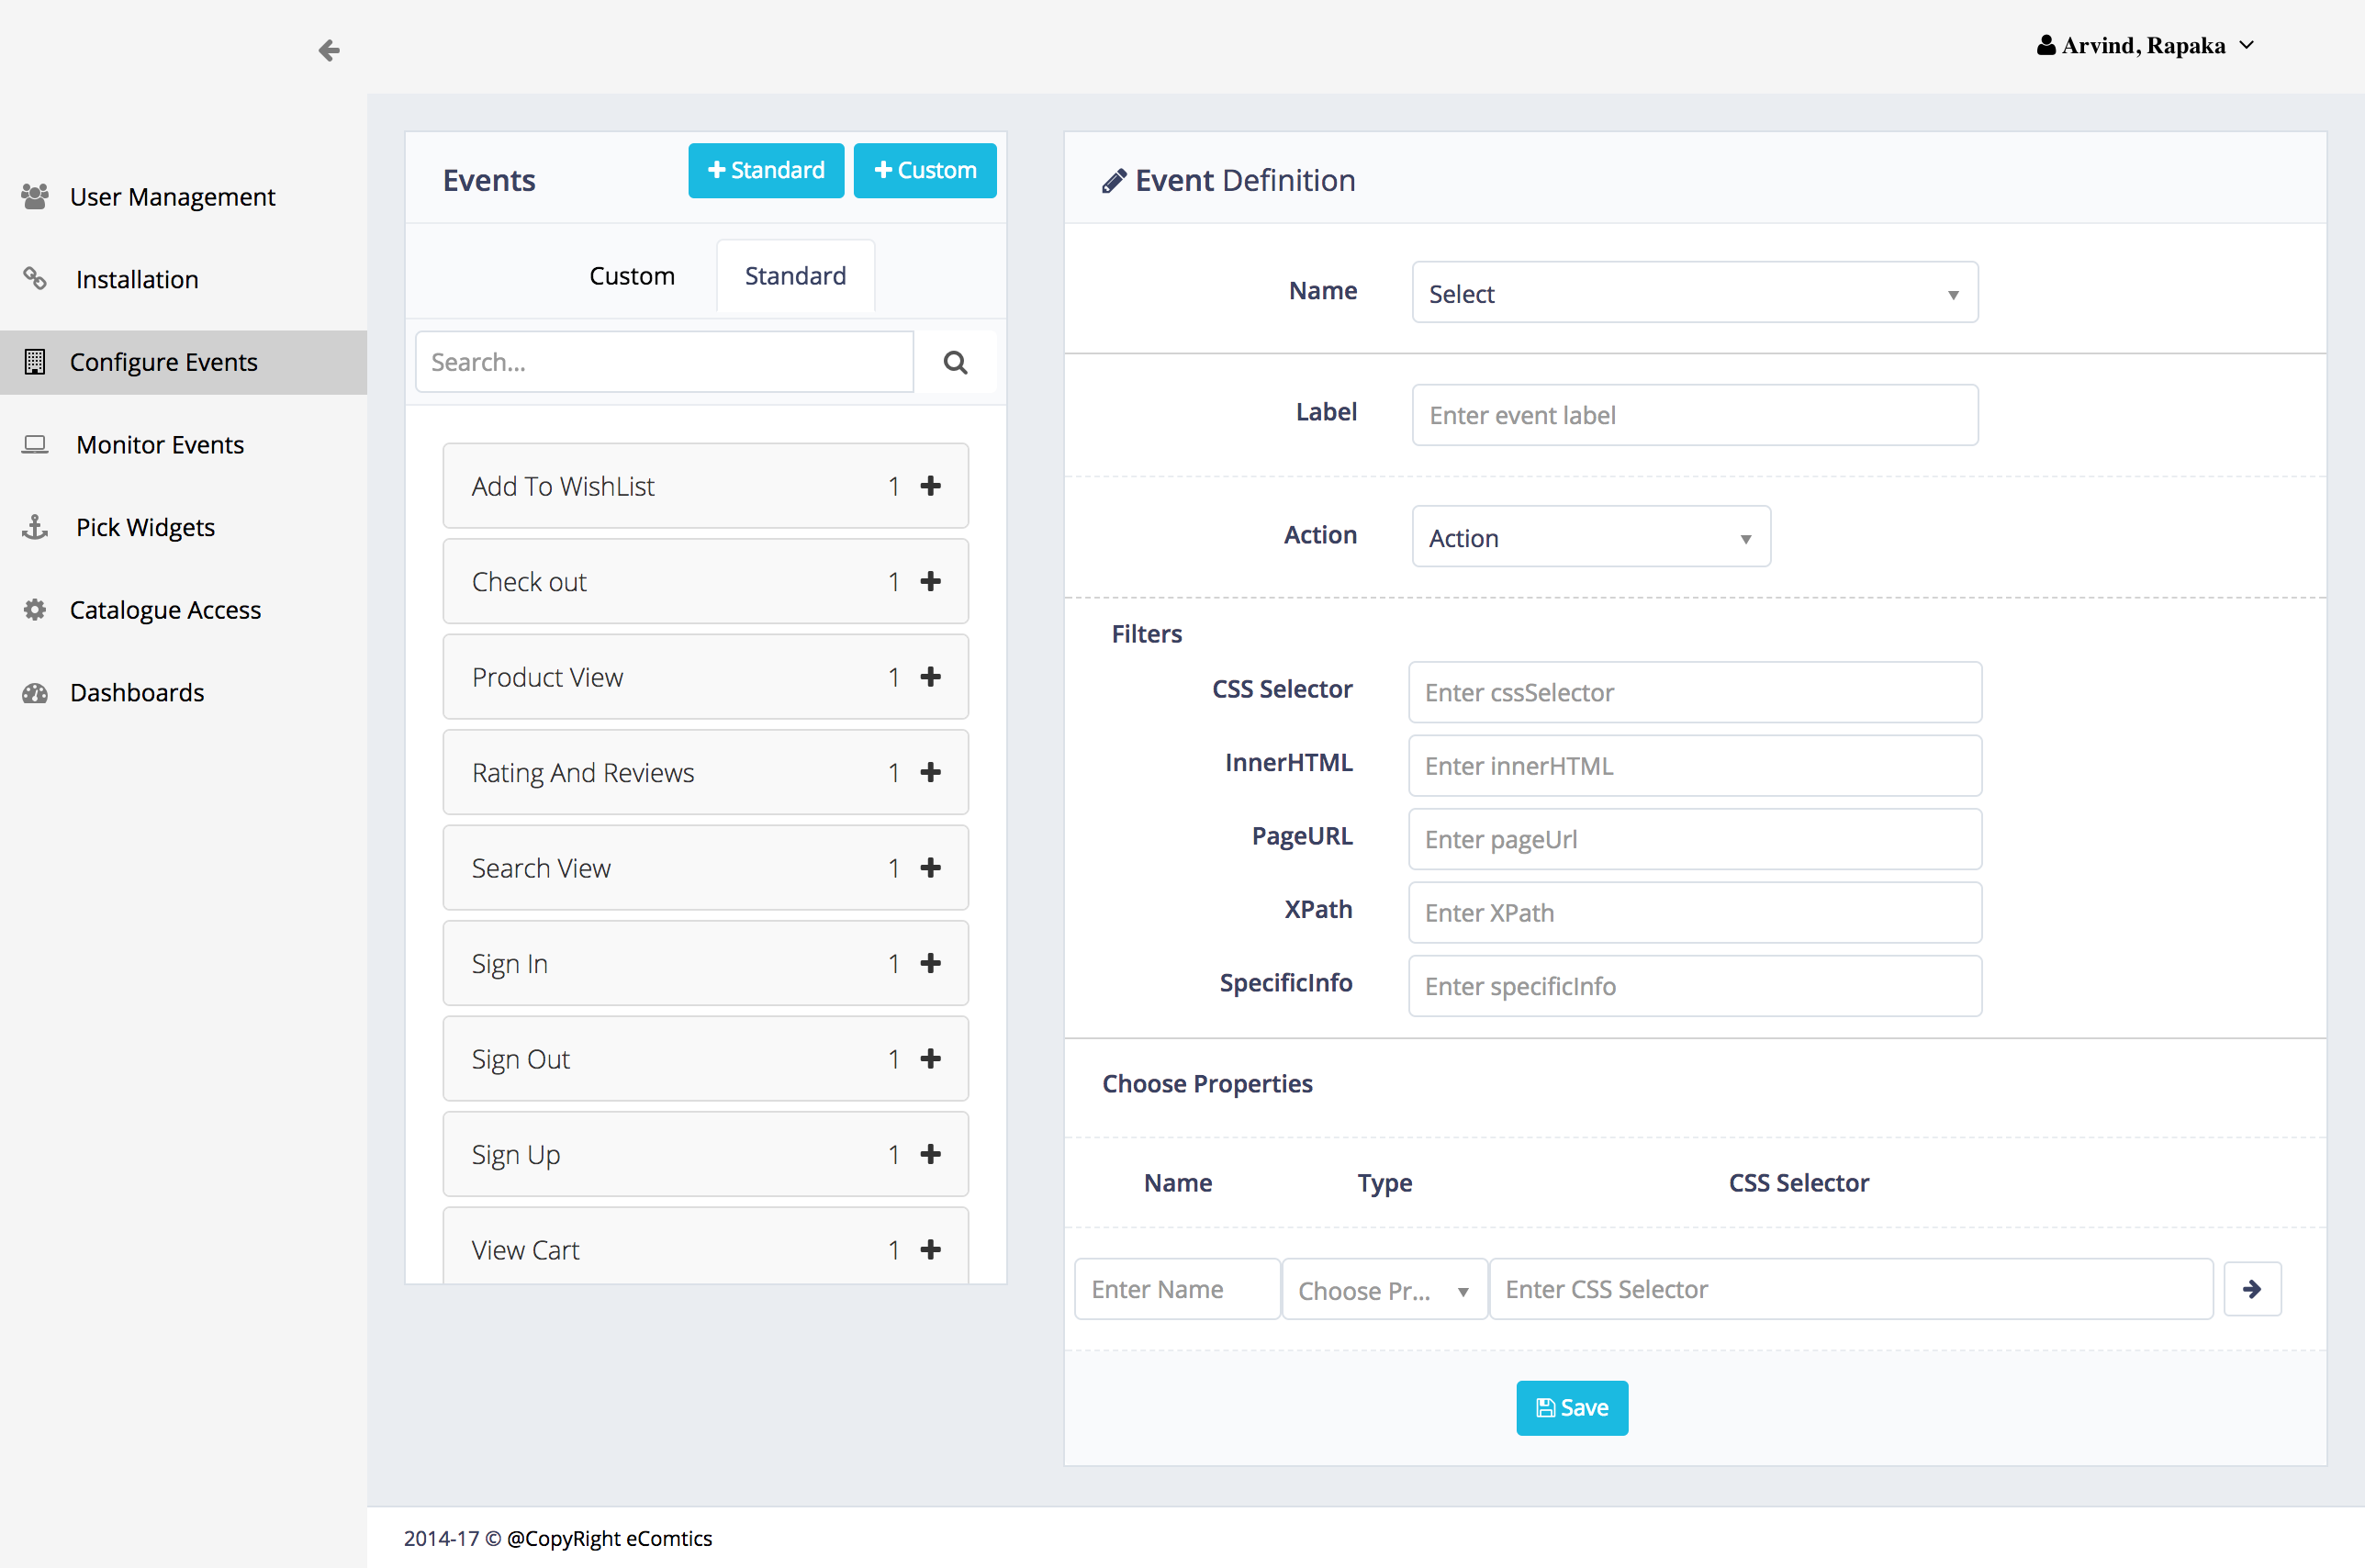
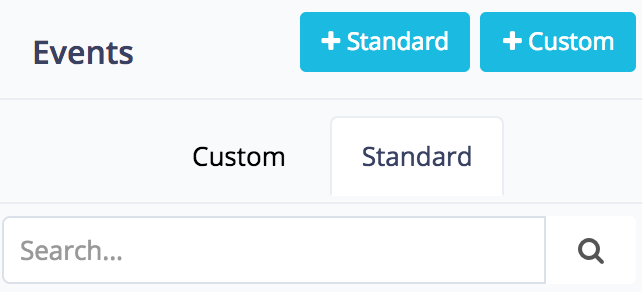
Click on Standard Button
Fill in the Details
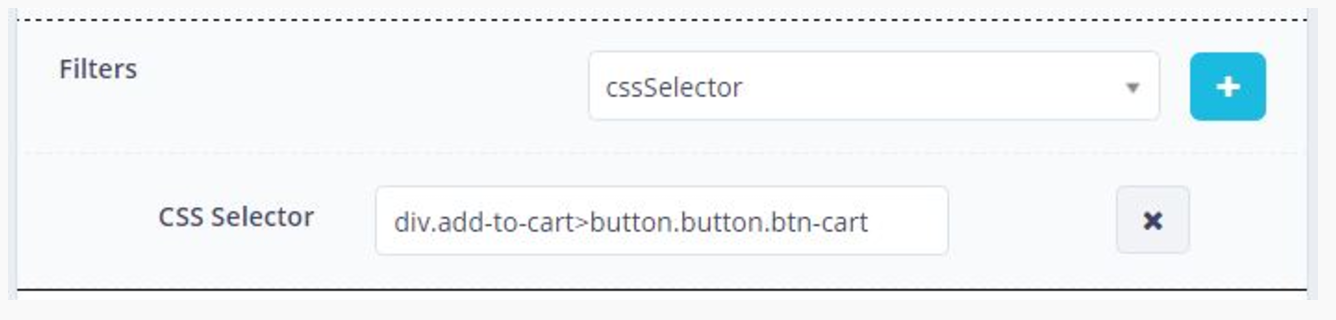
Select Filters
Steps to obtain CSS selector from the webpage an example:
Step1: login into http://etrial.xyz/ and go to ADD TO CART page
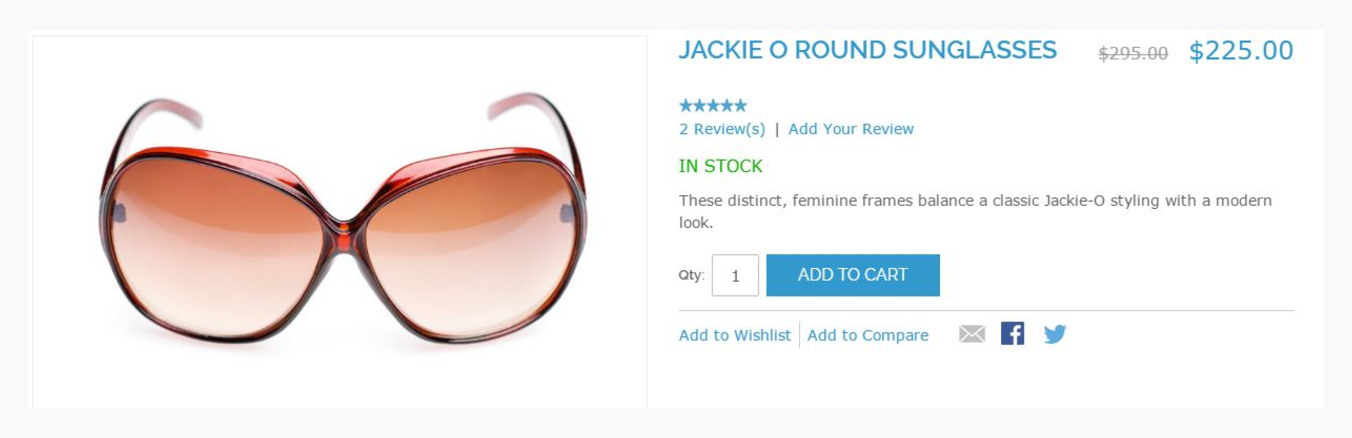
Step 2: Right click and select inspect, click on elements option
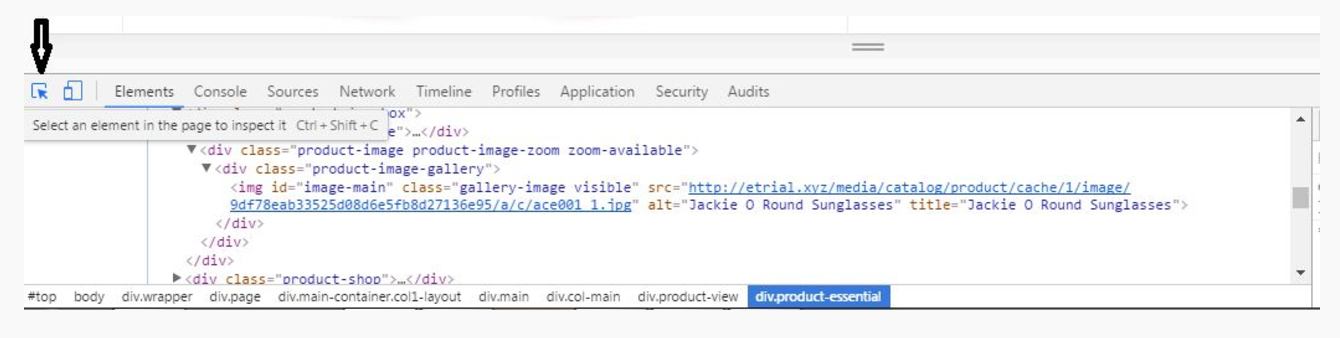
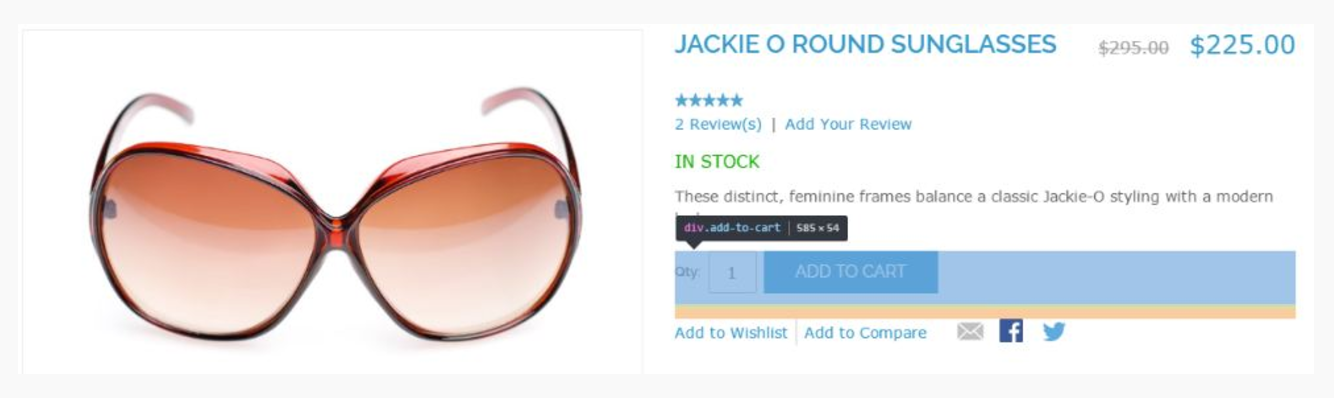
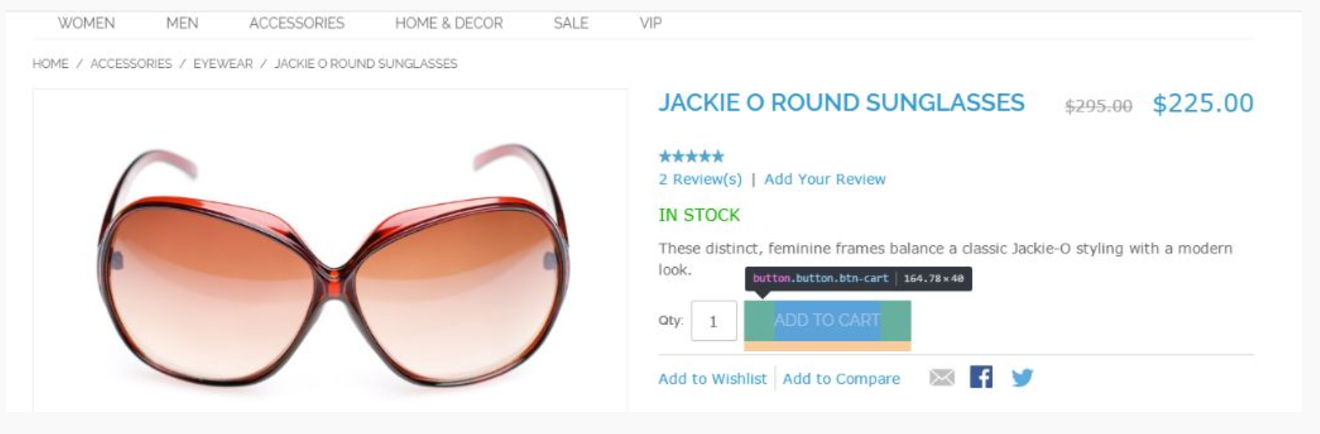
Step 3: Copy and paste the CSS selector by holding the cursor on the “ADD to Cart” button
selecting outer container
Selecting inner container
Set the filter
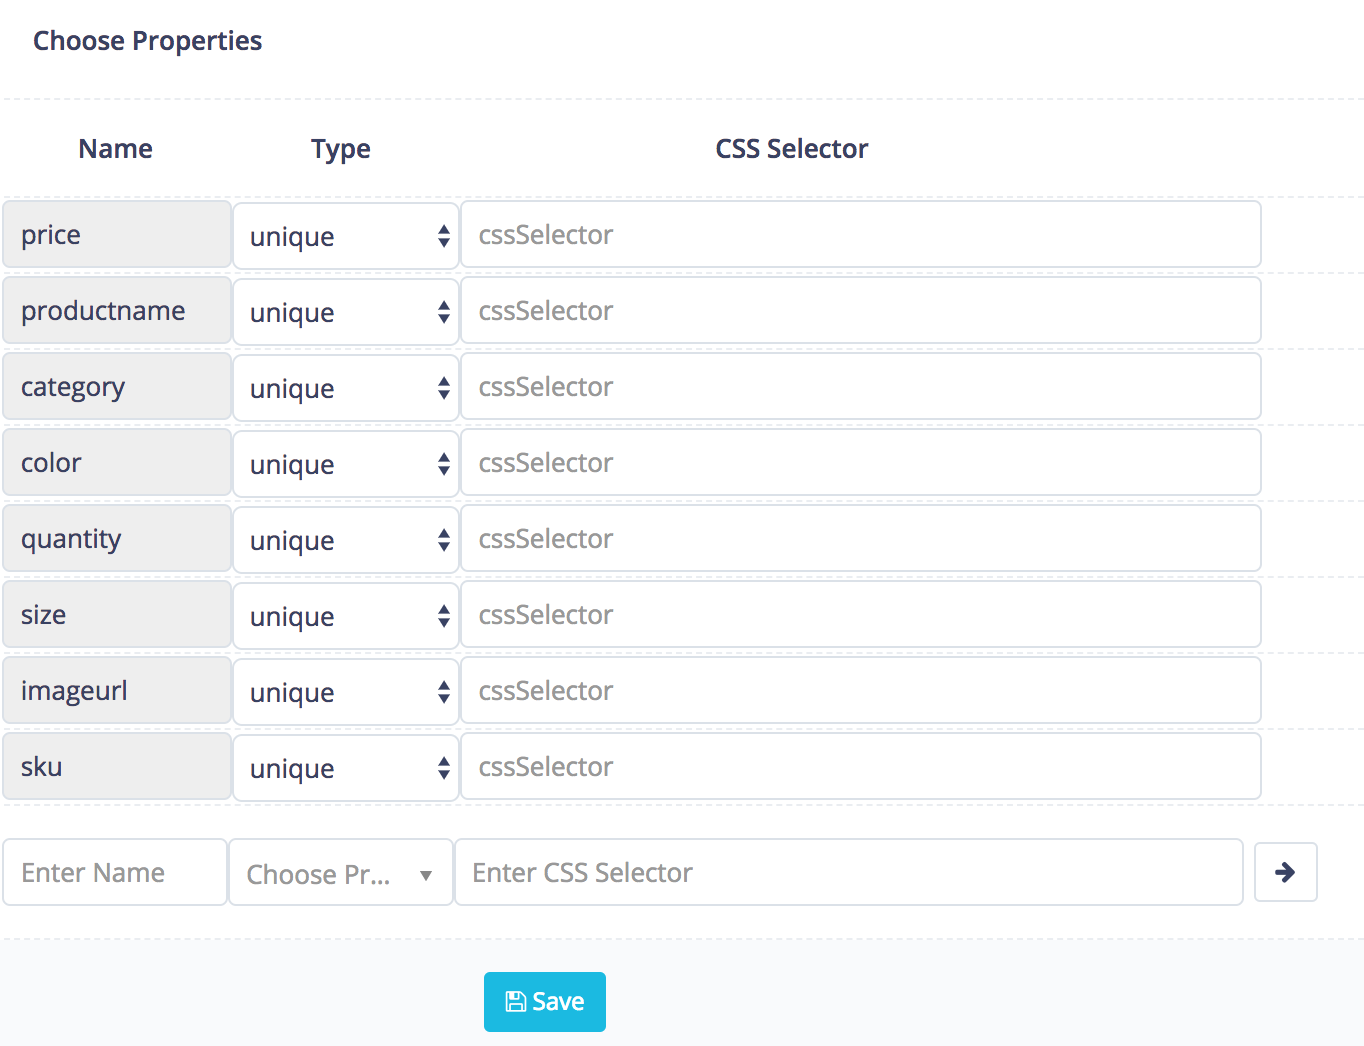
Set Properties
Click on the symbol [+] to choose the properties of the event you wish to be captured in this case we have selected price, product name, and quantity, click save after filling in the details
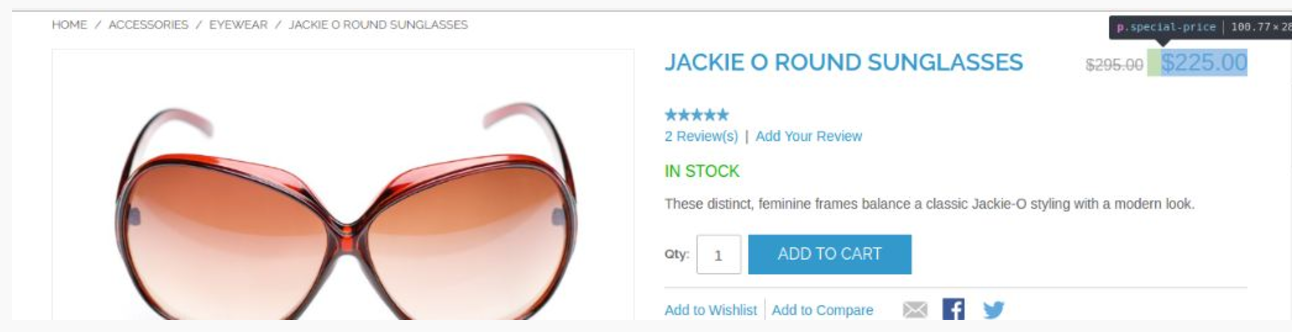
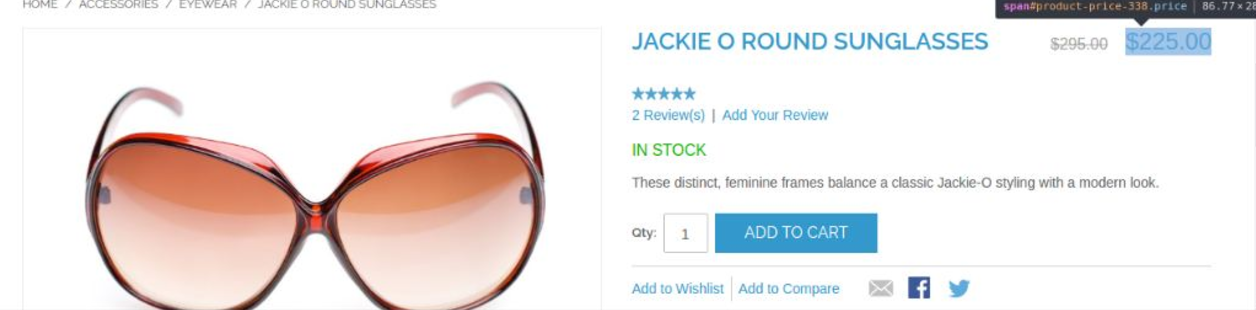
Example: Set Price Properties
selecting outercontainer
selecting innercontainer
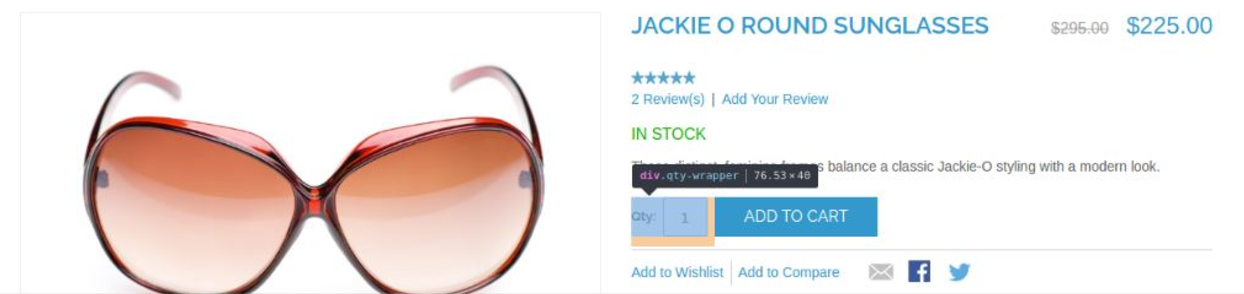
Example: Set Quantity Properties
selecting outercontainer
Save
Click on Save button to save the event